
Menu
close

Menu
close

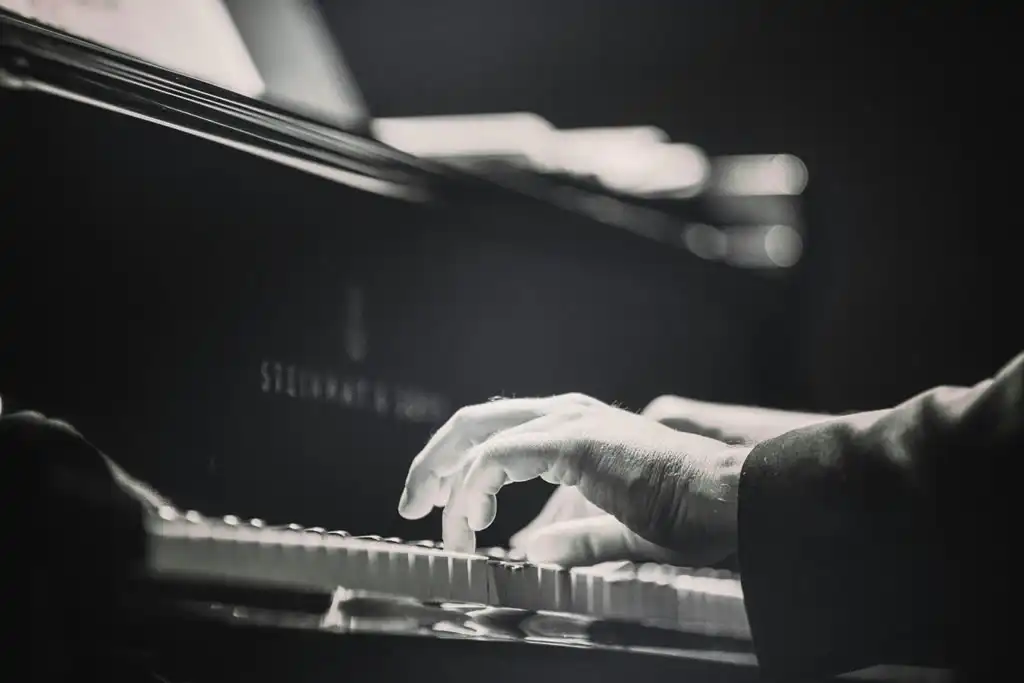
Learning to play the piano is a rewarding journey that opens the door to a world of music. Whether you dream of playing classical pieces or accompanying your favorite songs, the piano is a versatile instrument that can be enjoyed by anyone, regardless of age or skill level. In this beginner’s guide, we’ll cover the basics of understanding the keyboard, reading sheet music, and playing simple songs like “Twinkle Twinkle Little Star” and “Ode to Joy.”
The piano is one of the best instruments for beginners because its layout is visually intuitive and it provides an excellent foundation for understanding music theory. Each note is laid out in front of you, making it easier to understand scales, intervals, and harmony compared to other instruments.
Before diving into playing songs, it's important to get familiar with the layout of the piano keyboard.
The piano keyboard is made up of a repeating pattern of 12 keys: seven white keys (A, B, C, D, E, F, and G) and five black keys (sharps and flats). These 12 notes make up one octave, and the pattern repeats across the keyboard.
For example, the black key to the right of C is C# (C-sharp), and the black key to the left of D is Db (D-flat). Learning the names and positions of these notes is essential for navigating the keyboard.
Middle C is an important reference point on the piano. It is located near the center of the keyboard and acts as a starting position for beginners. To find Middle C:
Spend some time locating and playing Middle C, then move up and down the keyboard to explore other notes.
To play the piano effectively, you'll need to learn how to read sheet music. While this can seem daunting at first, once you understand the basics, reading music becomes much easier.
Sheet music is written on a set of five horizontal lines called a staff. Notes are placed on the lines and spaces to indicate which keys to play on the piano. There are two main staves used in piano music:
Each line and space on the staff corresponds to a note on the piano. For example, in the treble clef:
In the bass clef:
In addition to the pitch of the note (whether it's C, D, E, etc.), sheet music also tells you how long to hold the note. Here are the most common note values:
Understanding these note durations is key to playing rhythms accurately.
Music is divided into sections called measures, each containing a specific number of beats. The time signature at the beginning of a piece of music tells you how many beats are in each measure. For example:
Now that you understand the keyboard layout and the basics of reading sheet music, it’s time to start playing! Let's begin with two simple songs: “Twinkle Twinkle Little Star” and “Ode to Joy.”
“Twinkle Twinkle Little Star” is an excellent song for beginners because it uses simple, repetitive patterns and only a few notes. Here’s how to play it:
Melody (Right Hand):
Beethoven’s “Ode to Joy” is another great beginner piece, with a simple and recognizable melody.
Melody (Right Hand):
Practice playing these melodies slowly at first. Focus on using the correct fingers for each note and keeping a steady rhythm.
Once you're comfortable playing with your right hand, you can add the left hand to play chords or bass notes. For now, we’ll use simple single bass notes in the left hand to accompany the melody.
Left Hand:
Left Hand:
Practicing consistently is key to mastering the piano. Here are a few tips to help you make the most of your practice sessions:
When learning a new piece, always start slowly. Focus on accuracy rather than speed. As you become more comfortable with the notes, you can gradually increase your tempo.
Divide each song into small sections and practice one section at a time. For example, practice just the first two lines of “Twinkle Twinkle Little Star” before moving on to the next section.
A metronome is a useful tool for keeping a consistent tempo. Set it to a slow speed when you’re first learning a song and gradually increase the speed as you improve.
If you’re struggling to play with both hands, practice the right and left hands separately until you feel comfortable. Then, try slowly putting both hands together.
Learning the piano takes time, and it’s important to be patient with yourself. Progress may be slow at first, but with consistent practice, you’ll improve.
Mastering the piano as a beginner requires a solid understanding of the keyboard layout, sheet music, and basic songs. By learning simple tunes like “Twinkle Twinkle Little Star” and “Ode to Joy,” you’ll gain confidence in reading music and playing with both hands. Remember, practice is key, so dedicate time each day to improving your skills. With patience and persistence, you’ll be playing beautiful music on the piano in no time!
Happy practicing!